Deploy your first App
Categories:
6 minute read

Table of content:
Requirements
- You have a running Root Orchestrator with at least one Cluster Orchestrator registered.
- You have at least one Worker Node Registered
- (Optional) If you want the microservices to communicate, you need to have the NetManager installed and properly configured.
- You can access the APIs at
<root-orch-ip>:10000/api/docs
Deploy your first application
Let’s try deploying an Nginx server and a client. Then we’ll enter inside the client container and try to curl Nginx.
All we need to do to deploy an application is to create a deployment descriptor and submit it to the platform using the APIs.
Deployment descriptor
In order to deploy a container a deployment descriptor must be passed to the deployment command. The deployment descriptor contains all the information that Oakestra needs in order to achieve a complete deploy in the system.
Since version 0.4, Oakestra (previously, EdgeIO) uses the following deployment descriptor format.
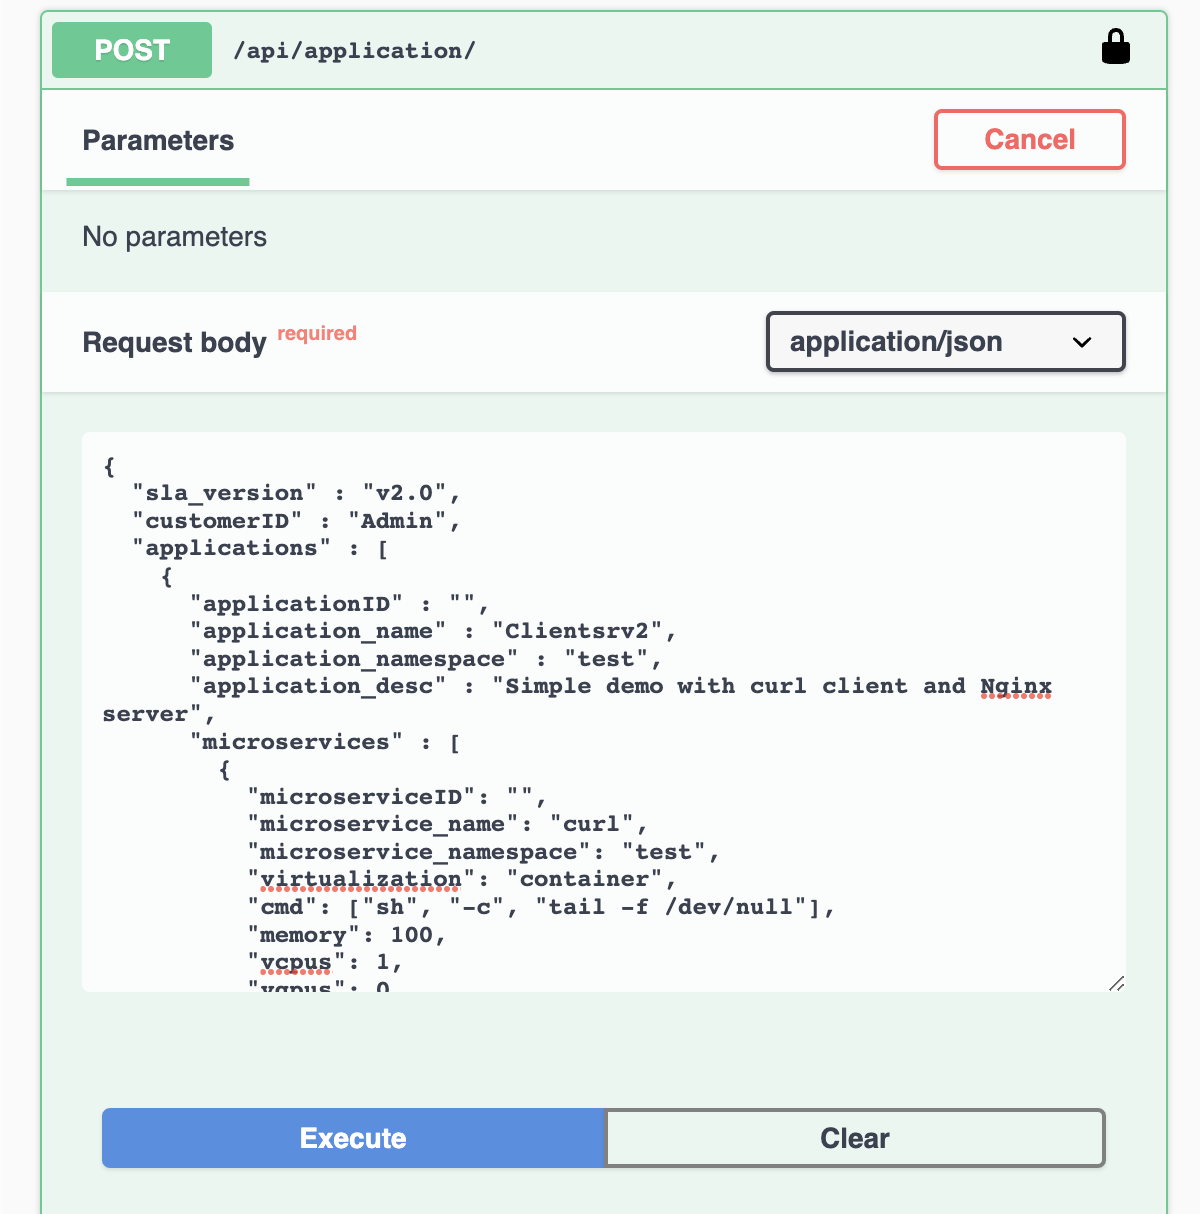
deploy_curl_application.yaml
{
  "sla_version" : "v2.0",
  "customerID" : "Admin",
  "applications" : [
    {
      "applicationID" : "",
      "application_name" : "clientsrvr",
      "application_namespace" : "test",
      "application_desc" : "Simple demo with curl client and Nginx server",
      "microservices" : [
        {
          "microserviceID": "",
          "microservice_name": "curl",
          "microservice_namespace": "test",
          "virtualization": "container",
          "cmd": ["sh", "-c", "tail -f /dev/null"],
          "memory": 100,
          "vcpus": 1,
          "vgpus": 0,
          "vtpus": 0,
          "bandwidth_in": 0,
          "bandwidth_out": 0,
          "storage": 0,
          "code": "docker.io/curlimages/curl:7.82.0",
          "state": "",
          "port": "9080",
          "added_files": []
        },
        {
          "microserviceID": "",
          "microservice_name": "nginx",
          "microservice_namespace": "test",
          "virtualization": "container",
          "cmd": [],
          "memory": 100,
          "vcpus": 1,
          "vgpus": 0,
          "vtpus": 0,
          "bandwidth_in": 0,
          "bandwidth_out": 0,
          "storage": 0,
          "code": "docker.io/library/nginx:latest",
          "state": "",
          "port": "6080:80/tcp",
          "addresses": {
            "rr_ip": "10.30.30.30"
          },
          "added_files": []
        }
      ]
    }
  ]
}
This deployment descriptor example generates one application named clientserver with the test namespace and two microservices:
- nginx server with test namespace, namely
clientserver.test.nginx.test - curl client with test namespace, namely
clientserver.test.curl.test
This is a detailed description of the deployment descriptor fields currently implemented:
- sla_version: the current version is v0.2
- customerID: id of the user, default is Admin
-
application list, in a single deployment descriptor is possible to define multiple applications, each containing:
- Fully qualified app name: A fully qualified name in Oakestra is composed of
- application_name: unique name representing the application (max 10 char, no symbols)
- application_namespace: namespace of the app, used to reference different deployment of the same application. Examples of namespace name can be
defaultorproductionortest(max 10 char, no symbols) - applicationID: leave it empty for new deployments, this is needed only to edit an existing deployment.
- application_desc: Short description of the application
- microservice list, a list of the microservices composing the application. For each microservice the user can specify:
- microserviceID: leave it empty for new deployments, this is needed only to edit an existing deployment.
- Fully qualified service name:
- microservice_name: name of the service (max 10 char, no symbols)
- microservice_namespace: namespace of the service, used to reference different deployment of the same service. Examples of namespace name can be
defaultorproductionortest(max 10 char, no symbols)
- virtualization: currently the only uspported virtualization is
container - cmd: list of the commands to be executed inside the container at startup
- vcpu,vgpu,memory: minimum cpu/gpu vcores and memory amount needed to run the container
- vtpus: currently not implemented
- storage: minimum storage size required (currently the scheduler does not take this value into account)
- bandwidth_in/out: minimum required bandwith on the worker node. (currently the scheduler does not take this value into account)
- port: port mapping for the container in the syntax hostport_1:containerport_1[/protocol];hostport_2:containerport_2[/protocol] (default protocol is tcp)
- addresses: allows to specify a custom ip address to be used to balance the traffic across all the service instances.
- rr_ip: [optional filed] This field allows you to setup a custom Round Robin network address to reference all the instances belonging to this service. This address is going to be permanently bounded to the service. The address MUST be in the form
10.30.x.yand must not collide with any other Instance Address or Service IP in the system, otherwise an error will be returned. If you don’t specify a RR_ip and you don’t set this field, a new address will be generated by the system.
- rr_ip: [optional filed] This field allows you to setup a custom Round Robin network address to reference all the instances belonging to this service. This address is going to be permanently bounded to the service. The address MUST be in the form
- constraints: array of constraints regarding the service.
- type: constraint type
direct: Send a deployment to a specific cluster and a specific list of eligible nodes. You can specify"node":"node1;node2;...;noden"a list of node’s hostnames. These are the only eligible worker nodes."cluster":"cluster_name"The name of the cluster where this service must be scheduled. E.g.:
- type: constraint type
"constraints":[ { "type":"direct", "node":"xavier1", "cluster":"gpu" } ] - Fully qualified app name: A fully qualified name in Oakestra is composed of
-
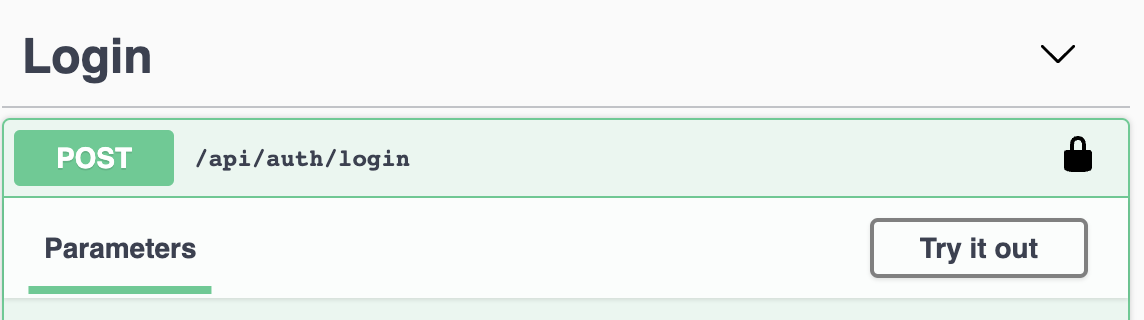
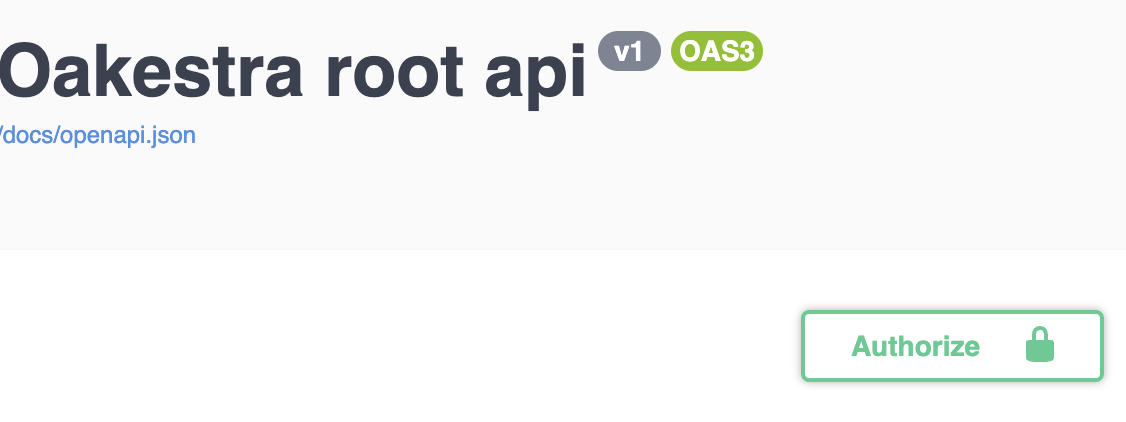
Login to the APIs
After running a cluster you can use the debug OpenAPI page to interact with the apis and use the infrastructure
connect to <root_orch_ip>:10000/api/docs
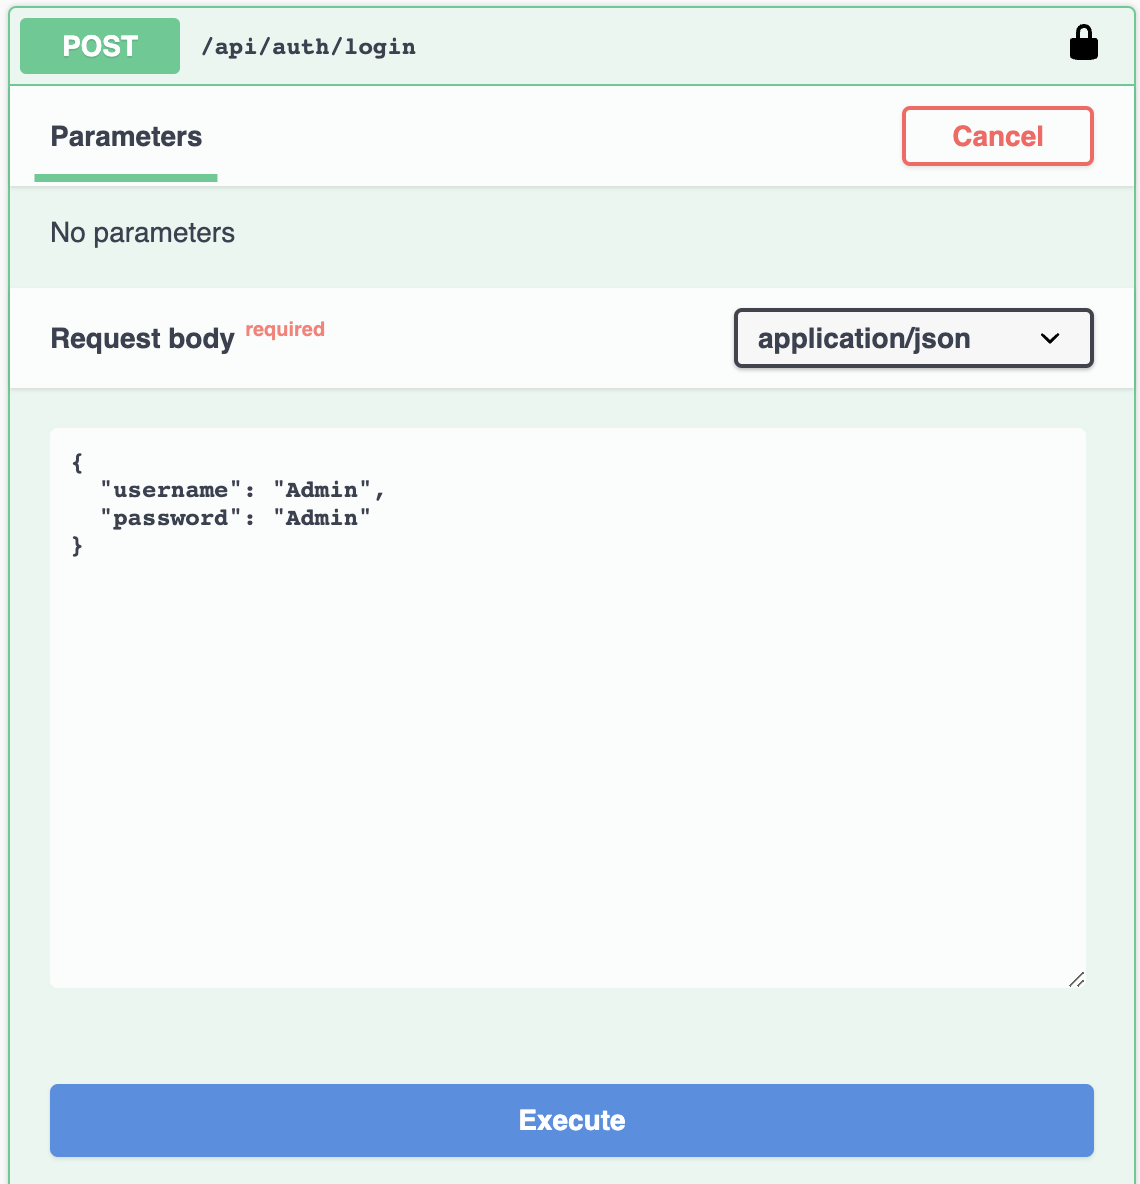
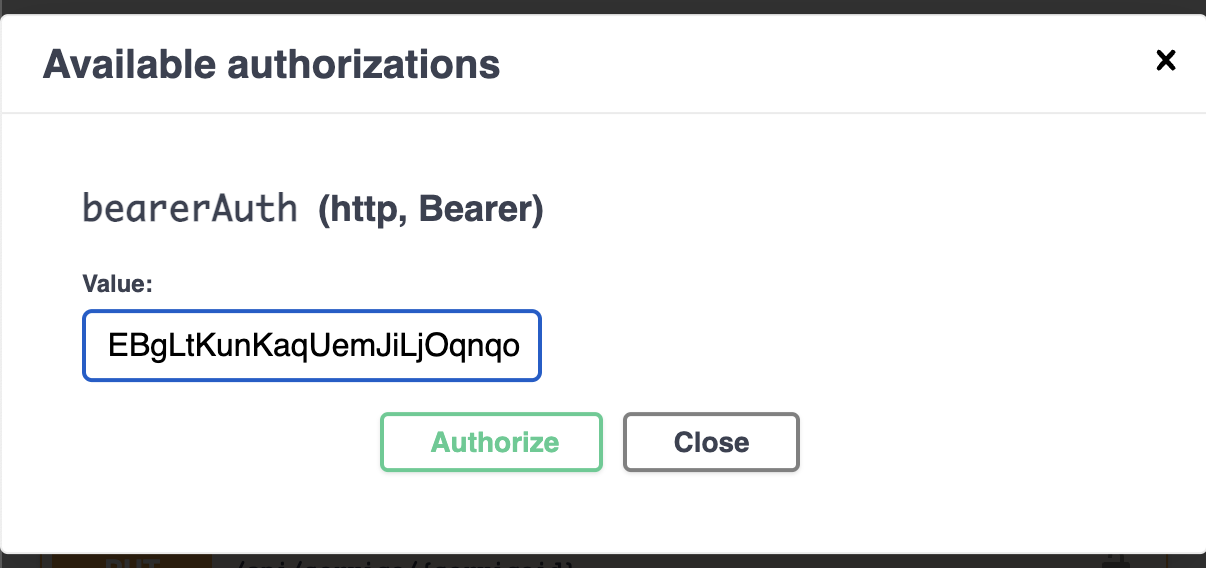
Authenticate using the following procedure:
- locate the login method and use the try-out button
- Use the default Admin credentials to login
- Copy the result login token
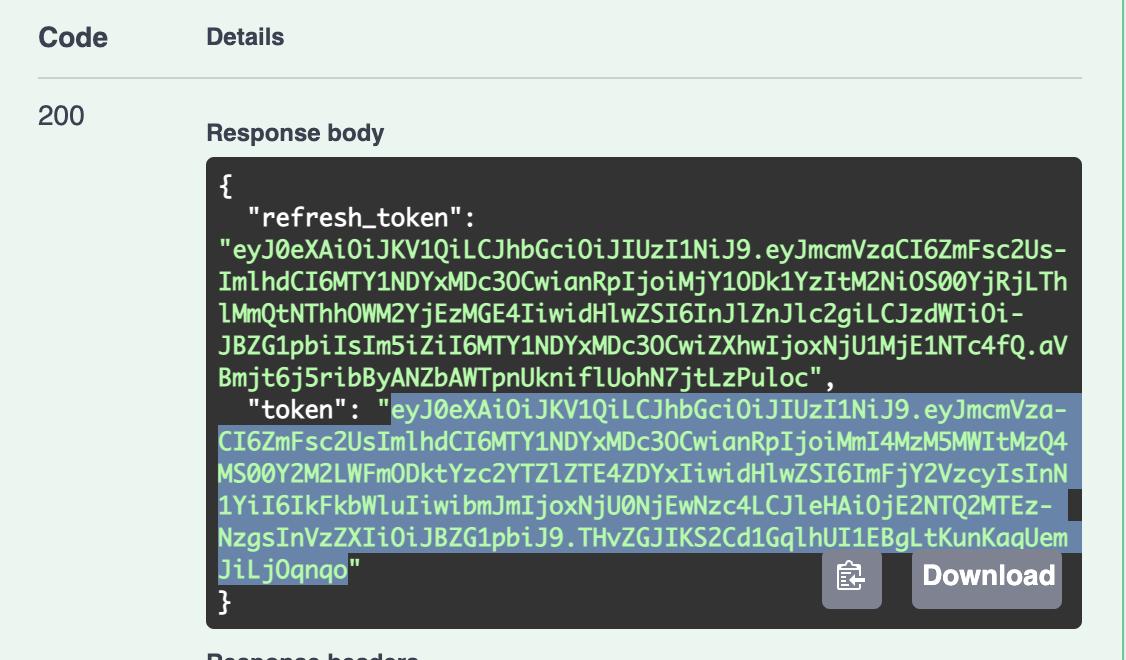
- Go to the top of the page and authenticate with this token
Register an application and the services
After you authenticate with the login function, you can try out to deploy the first application.
- Upload the deployment description to the system. You can try using the deployment descriptor above.
The response contains the Application id and the id for all the application’s services. Now the application and the services are registered to the platform. It’s time to deploy the service instances!
You can always remove or create a new service for the application using the /api/services endpoints
Deploy an instance of a registered service
- Trigger a deployment of a service’s instance using
POST /api/service/{serviceid}/instance
each call to this endpoint generates a new instance of the service
Monitor the service status
- With
GET /api/aplications/<userid>(or simply /api/aplications/ if you’re admin) you can check the list of the deployed application. - With
GET /api/services/<appid>you can check the services attached to an application - With
GET /api/service/<serviceid>you can check the status for all the instances of
Undeploy
- Use
DELETE /api/service/<serviceid>to delete all the instances of a service - Use
DELETE /api/service/<serviceid>/instance/<instance number>to delete a specific instance of a service - Use
DELETE /api/application/<appid>to delete all together an application with all the services and instances
Check if the deployment succeded
Familiarize yourself with the API and discover for each one of the service the status and the public address.
If both services show the status ACTIVE then everything went fine. Otherwise, there might be a configuration issue or a bug. Please debug it with docker logs system_manager -f --tail=1000 on the root orchestrator, with docker logs cluster_manager -f --tail=1000 on the cluster orchestrator and checking the logs of the NetManager and NodeEngine. Then please open an issue.
If both services are ACTIVE, it is time to test the communication.
Try to reach the nginx server you just deployed reaching: http://<deployment_machine_ip>:6080 If you see the Nginx landing page the deployment succeeded! Hurray! 🎉
If you want to try the semantic addressing, move into the worker node hosting the client and use the following command to log into the container.
sudo ctr -n edge.io task exec --exec-id term1 Client.default.client.default /bin/sh
Once we are inside our client, we can curl the Nginx server and check if everything works.
curl 10.30.30.30
Note that this address is the one we specified in the Nginx’s deployment descriptor.