With the API
Requirements
- You have a running Oakestra deployment.
- You have at least one Worker Node registered
- (Optional) If you want the microservices to communicate, you need to have the NetManager installed and properly configured.
- You can access the APIs at
<root-orch-ip>:10000/api/docs
Let’s try deploying an Nginx server and a client. Then we’ll enter inside the client container and try to curl Nginx webserver.
All we need to do to deploy an application is to create a deployment descriptor and submit it to the platform using the APIs.
Deployment Descriptor
In order to deploy a container a deployment descriptor must be passed to the deployment command. The deployment descriptor contains all the information that Oakestra needs in order to achieve a complete deployment in the system.
The following is an example of an Oakestra deployment descriptor:
{
  "sla_version" : "v2.0",
  "customerID" : "Admin",
  "applications" : [
    {
      "applicationID" : "",
      "application_name" : "clientserver",
      "application_namespace" : "test",
      "application_desc" : "Simple demo with curl client and Nginx server",
      "microservices" : [
        {
          "microserviceID": "",
          "microservice_name": "curl",
          "microservice_namespace": "test",
          "virtualization": "container",
          "cmd": ["sh", "-c", "tail -f /dev/null"],
          "memory": 100,
          "vcpus": 1,
          "vgpus": 0,
          "vtpus": 0,
          "bandwidth_in": 0,
          "bandwidth_out": 0,
          "storage": 0,
          "code": "docker.io/curlimages/curl:7.82.0",
          "state": "",
          "port": "9080",
          "added_files": []
        },
        {
          "microserviceID": "",
          "microservice_name": "nginx",
          "microservice_namespace": "test",
          "virtualization": "container",
          "cmd": [],
          "memory": 100,
          "vcpus": 1,
          "vgpus": 0,
          "vtpus": 0,
          "bandwidth_in": 0,
          "bandwidth_out": 0,
          "storage": 0,
          "code": "docker.io/library/nginx:latest",
          "state": "",
          "port": "6080:80/tcp",
          "addresses": {
            "rr_ip": "10.30.30.30"
          },
          "added_files": []
        }
      ]
    }
  ]
}
Save this description as deploy_curl_application.yaml and upload it to the system using the APIs.
This deployment descriptor example generates one application named clientserver with the test namespace and two microservices:
- nginx server with test namespace, namely
clientserver.test.nginx.test - curl client with test namespace, namely
clientserver.test.curl.test
Login to the APIs
After running a cluster you can use the debug OpenAPI page at <root_orch_ip>:10000/api/docs to interact with the apis and use the infrastructure.
Authenticate using the following procedure:
Locate the login method and use the try-out button

Use the default Admin credentials to login
  username: "Admin"
  password: "Admin"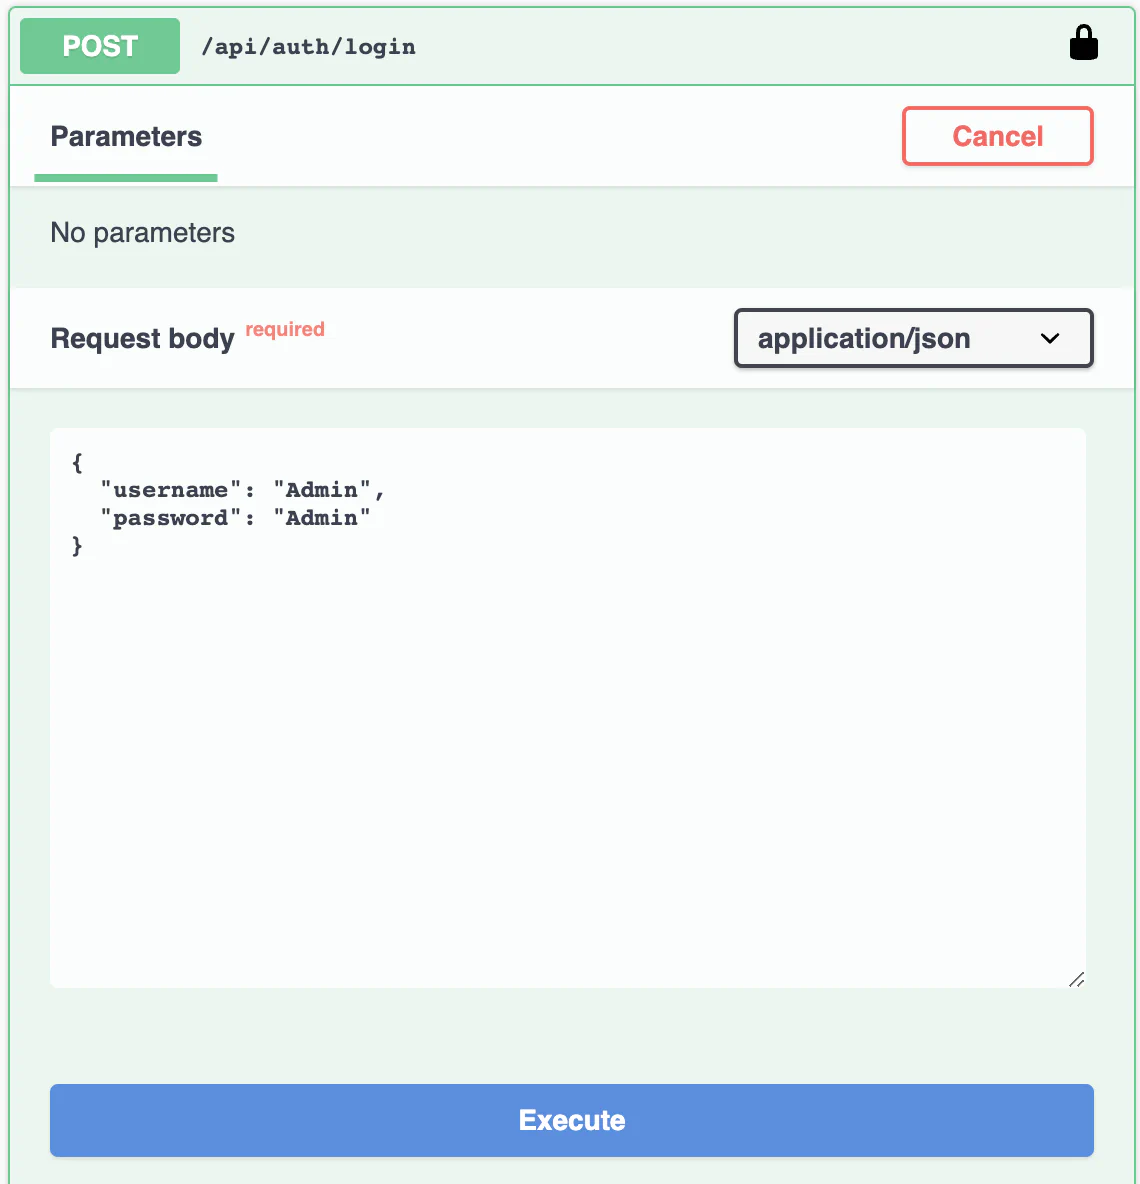
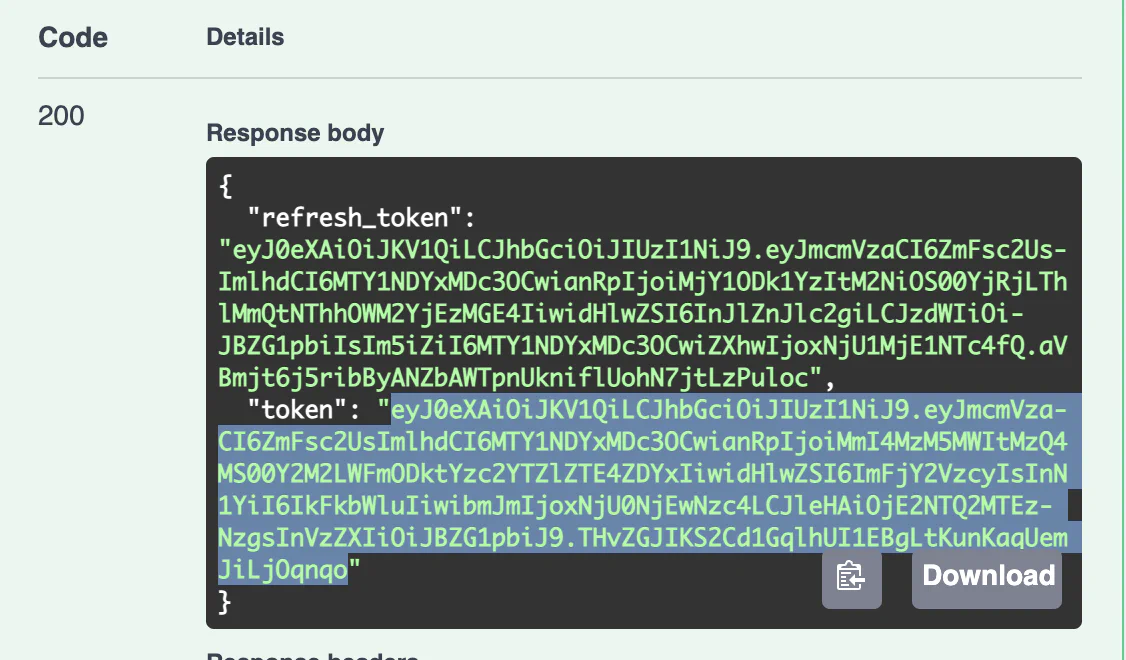
Copy the result login token
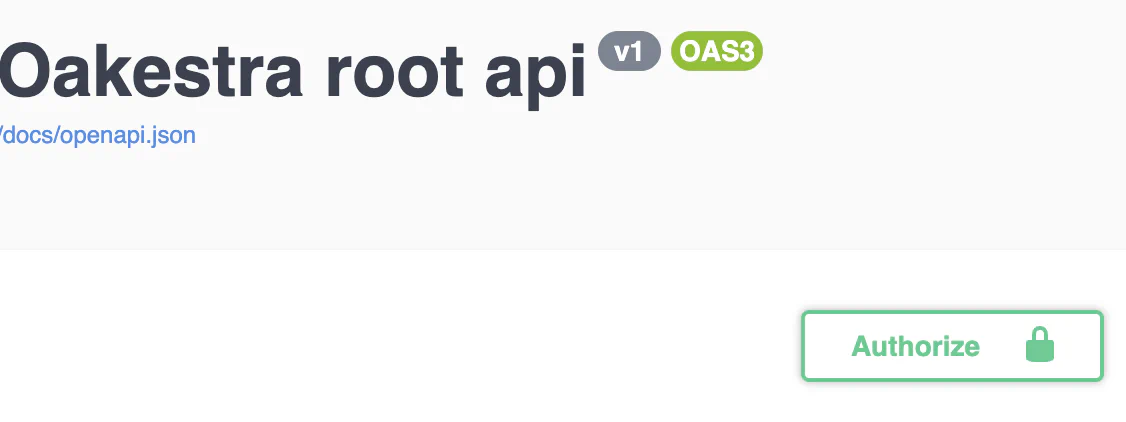
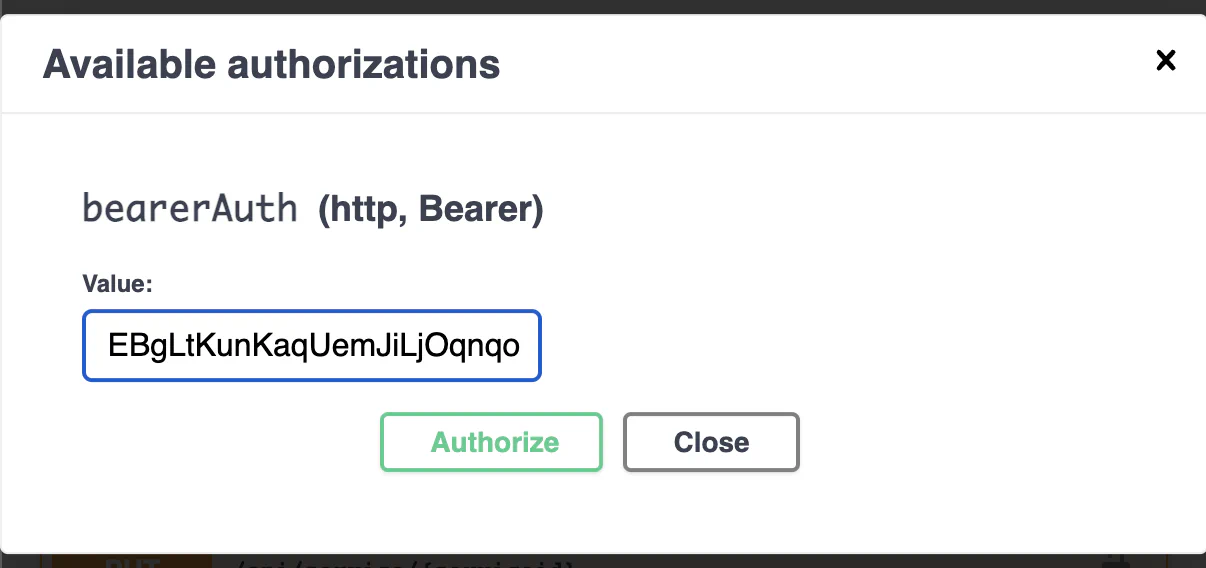
Go to the top of the page and authenticate with this token
Register an application and the services
After you authenticate with the login function, you can try out to deploy the first application.
- Upload the deployment description to the system. You can try using the deployment descriptor above.
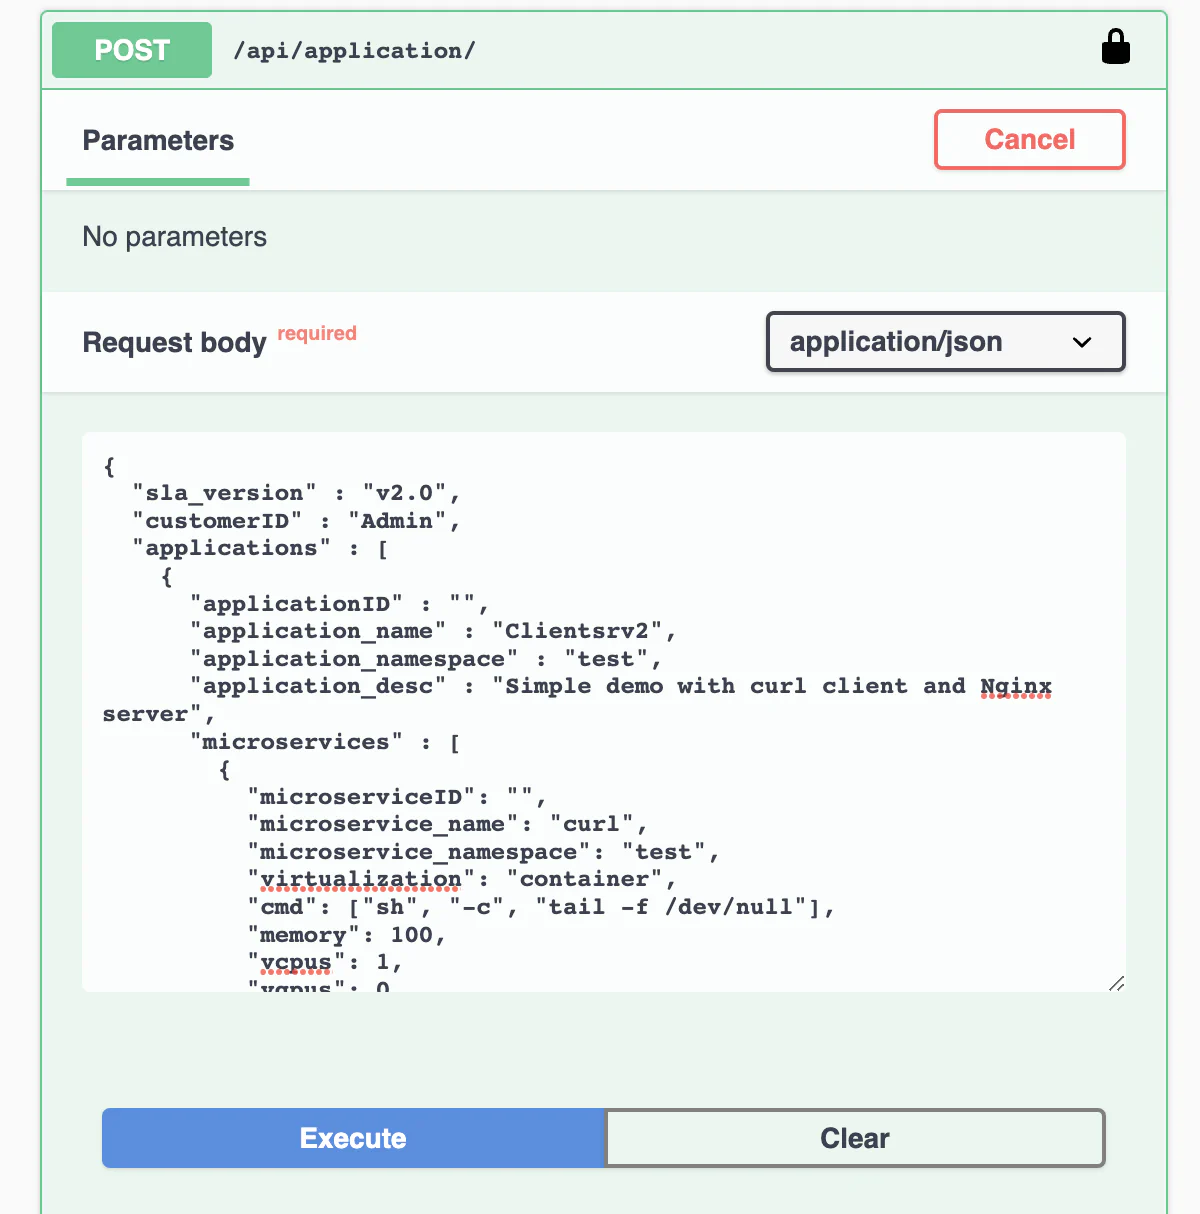
The response contains the Application id and the id for all the application’s services. Now the application and the services are registered to the platform. It’s time to deploy the service instances!
You can always remove or create a new service for the application using the /api/services endpoints.
Deploy an instance of a registered service
- Trigger a deployment of a service’s instance using
POST /api/service/{serviceid}/instance
Each call to this endpoint generates a new instance of the service
Monitor the service status
- With
GET /api/aplications/<userid>(or simply /api/aplications/ if you’re admin) you can check the list of the deployed application. - With
GET /api/services/<appid>you can check the services attached to an application - With
GET /api/service/<serviceid>you can check the status for all the instances of<serviceid>
Undeploy the service
- Use
DELETE /api/service/<serviceid>to delete all the instances of a service - Use
DELETE /api/service/<serviceid>/instance/<instance number>to delete a specific instance of a service - Use
DELETE /api/application/<appid>to delete all together an application with all the services and instances
Check if the service (un)deployment succeeded
Familiarize yourself with the API and discover for each one of the service the status and the public address.
If both services are ACTIVE, it is time to test the communication.
If either of the services are not ACTIVE, there might be a configuration issue or a bug. You can check the logs of the NetManager and NodeEngine components with docker logs system_manager -f --tail=1000 on the root orchestrator, with docker logs cluster_manager -f --tail=1000 on the cluster orchestrator. If unable to resolve, please open an issue on GitHub.
Try to reach the nginx server you just deployed.
http://<deployment_machine_ip>:6080If you see the Nginx landing page, you just deployed your very first application with Oakestra! Hurray! 🎉
